Let me start by saying that I am happy with the look and feel of the macbitz website and I don’t want to change it. First up, I wanted to convert the word macbitz above into italic text. There is no toolbar, however when I move the cursor away from the text I’m typing, a minimalist toolbar appears with an italic button on it. Sue enough if I highlight the word macbitz, I’m able to switch it to italic. Assuming I can do bold and underlined text as well then that’s basic feature test one successfully passed.
Starting a new paragraph seems as simple as before, you simply hit the Enter key. What you don’t necessarily notice is that you’ve just started a nex ‘text block’ when you do this. The new block is entirely separate to the previous one, it just happens to sit directly under the previous one, giving the appearance of a new paragrahph. For now we’ll call test two a pass.

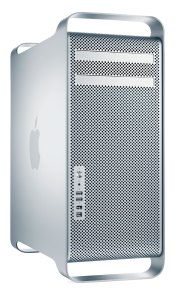
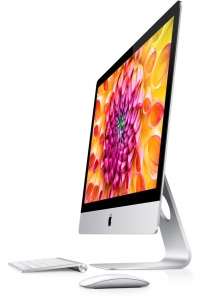
On to test three and that is adding a picture to the page or past. A lot of the time when creating new content, I am adding new images rather than existing ones stored in my media library. So let’s get going by trying to add a picture of a new iMac concept on to this page. Previously I’d just click the Media button, choose ‘Add New’, upload the image and then coose the alignment and any caption I wanted. I’d like the new image to appear at the start of this paragraph and to be aligned left so that the text flows to the right of it. I’ll start by placing the cursor immediately to the left of the word ‘On’ above and then click the + button top left in the editor. Sure enough there is an image icon in the menu that appears and so I click it. Unfortunately the new editor has defaulted to putting a placeholder for the new image directly below the paragraph where I wanted to use the image. Not a good start. Perhaps I can drag the image to where I want it? Well no actually, you can’t do that because the image is a new block in its own right. After a while playing around and experimenting, I find that placing the cursor over the image I see a new mini-menu pop up above the image. If I then place the cursor over that new menu bar, a new ‘cell’ pops out to the left of the menu bar with what appear to be scroll bars on it. Seems this is the way to move your image and trusting to luck I click on the ‘Up’ arrow and my image moves up to the top of the previous text block, which just so happens to be where I wanted the photo originally. This is an extra step for which the thinking is – insert your image, set its properties then move it rather than the old way which was – insert the image where you want it and then set its properties. Not sure why WordPress felt the need to alter this logic but I dare say after using it for a while I’ll get used to it. By the way, thak you to behance.com for the image (linked here).
On to my next challenge – converting the words above ‘linked here’ into a link to https://www.behance.net/gallery/69322509/iMac-Concept. With my + menu open to the left of the editor I start searching for something to allow me to add a link. Nothing. I use the handy search tool and enter ‘link’ to be given 5 results that look nothing like what I’m trying to do! Seems I missed the painfully obvious, it was there on the mini-menu all the time. With the mini-menu showing, highliht the text you want to turn into a link then click on the (-) button on the mini-menu. Not sure why that icon represents a link, it just does. So that’s the third test passed – adding a link. My next challenge is to save this post and publish it on the site. I am hoping that it will appear in the same style (font, size, etc.) as the other posts so here goes.
Filed under: OS X | Leave a comment »
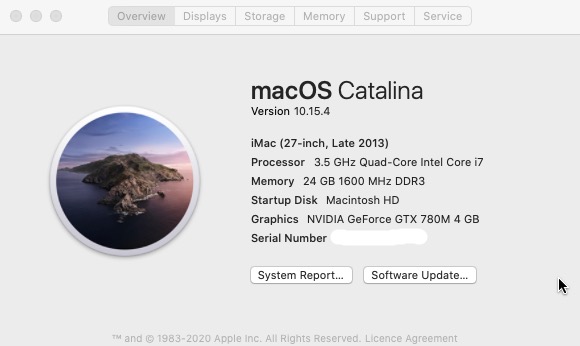 With the new 2013 iMac I opted to max out on the processor with a 3.5GHz Quad-Core Core i7 together with the NVIDIA GeForce GTX 780M 4Gb graphics option. Not much by today’s standards but back then it was all about going for the best CPU and graphics because upgrading those components is screen-off surgery of a type I didn’t fancy. I opted for a 3Tb Fusion drive primarily because space was everything and I needed lots of it for VMware virtual machines I’d be running. Top that all off with 24Gb of user-upgradeable RAM and I was all set. What I didn’t realise was just how long I’d be set for!